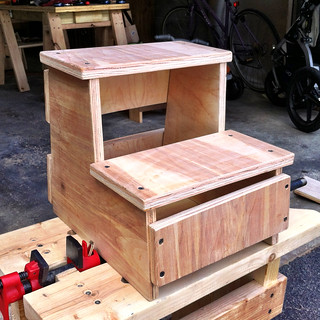
Keeping it within the plywood meant that it could only be 12 3/4" high (12 inches because both sides have to fit inside 24", the 3/4" comes from the width of the plywood). Two 6" deep steps, and roughly 12" wide (based on the need to get both the steps and the supports out of the same 24" wide piece of plywood).
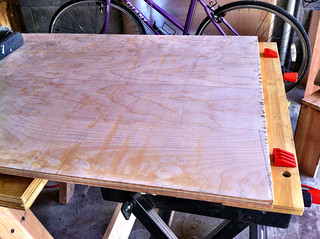 |
| Laying out the cuts |
The key for cutting something this large is to make sure both sides of the cut are supported. So I used my workbench on one side and the Black & Decker Workmate on the other. However, the workbench is actually sized to fit me, which means it is a little shorter than the Workmate. But by using a set of bench cookies (from Rockler) and raising the Workmate slightly I had it roughly equal heights on both sides of where I was going to cut.
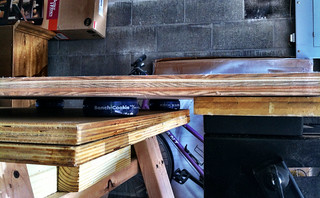 |
| Supporting the wood on both sides |
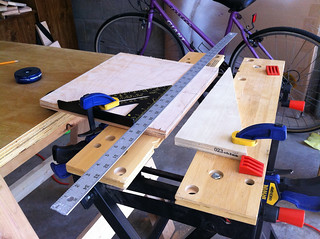
I don't have a table saw or a circular saw, so I was using a jigsaw, which is really not suited for long cuts. I used a metal ruler to be my guide. So each cut started out with me placing the jigsaw, the guide next to it, then my combination square to get the metal ruler going straight across the board. I then clamped down the ruler and made the cut by having the jigsaw follow the guide.
The cuts were supposed to be the hard part. Especially since jigsaw blades are known to wander around on long cuts so while the cut may be straight at the top, the unsupported bottom is moving around so the cut is usually not straight all the way through. But with a step stool, the next part is attaching the legs to the supports and the steps. And getting started was a trick.
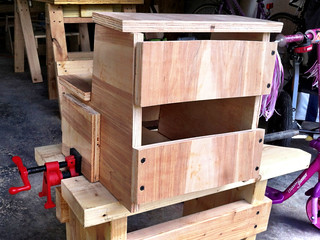
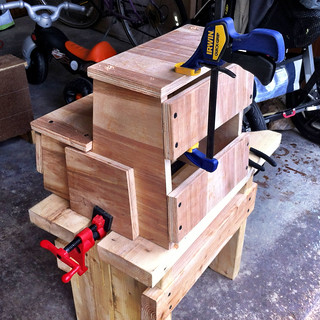
I started by attaching the stretchers to the sides. First I clamped one side in the Workmate so that the back was exposed and level with the Workmate surface. This let me attach the sides to the back of the Workmate. Next, I used my sawbench and pipe clamps to hold one side of the stool while attaching the stretchers to the other side. My cross cuts for the stretchers turned out pretty bad, while my rip cuts on the sides were pretty good, so I aligned the stretchers using the sides, and ignored the fact that top and bottoms of the stretchers were messed up.
After the sides, then came the steps. Now, the jigsaw is pretty bad about making straight, square cuts, but it turns out that in this design, the sides are not vertical either. So, of my two steps, I looked for the one with the edge that slanted just like the step cuts and made that the bottom step.
So now I have an assembled two-step step stool. After this, I used a rasp, then file, then sandpaper to round off all the edges.
Next step is to finish the wood. I'm going to put on Danish oil, because that is what I have lying around, and let that sit overnight. Then we get to see if T uses it.
Some room for improvement. The original plans have the supports in between the legs, not attached to the ends. Maybe if I have time someday I can take out the supports and re cut them (they are pretty messed up) and do this the right way.
Some room for improvement. The original plans have the supports in between the legs, not attached to the ends. Maybe if I have time someday I can take out the supports and re cut them (they are pretty messed up) and do this the right way.
No comments:
Post a Comment